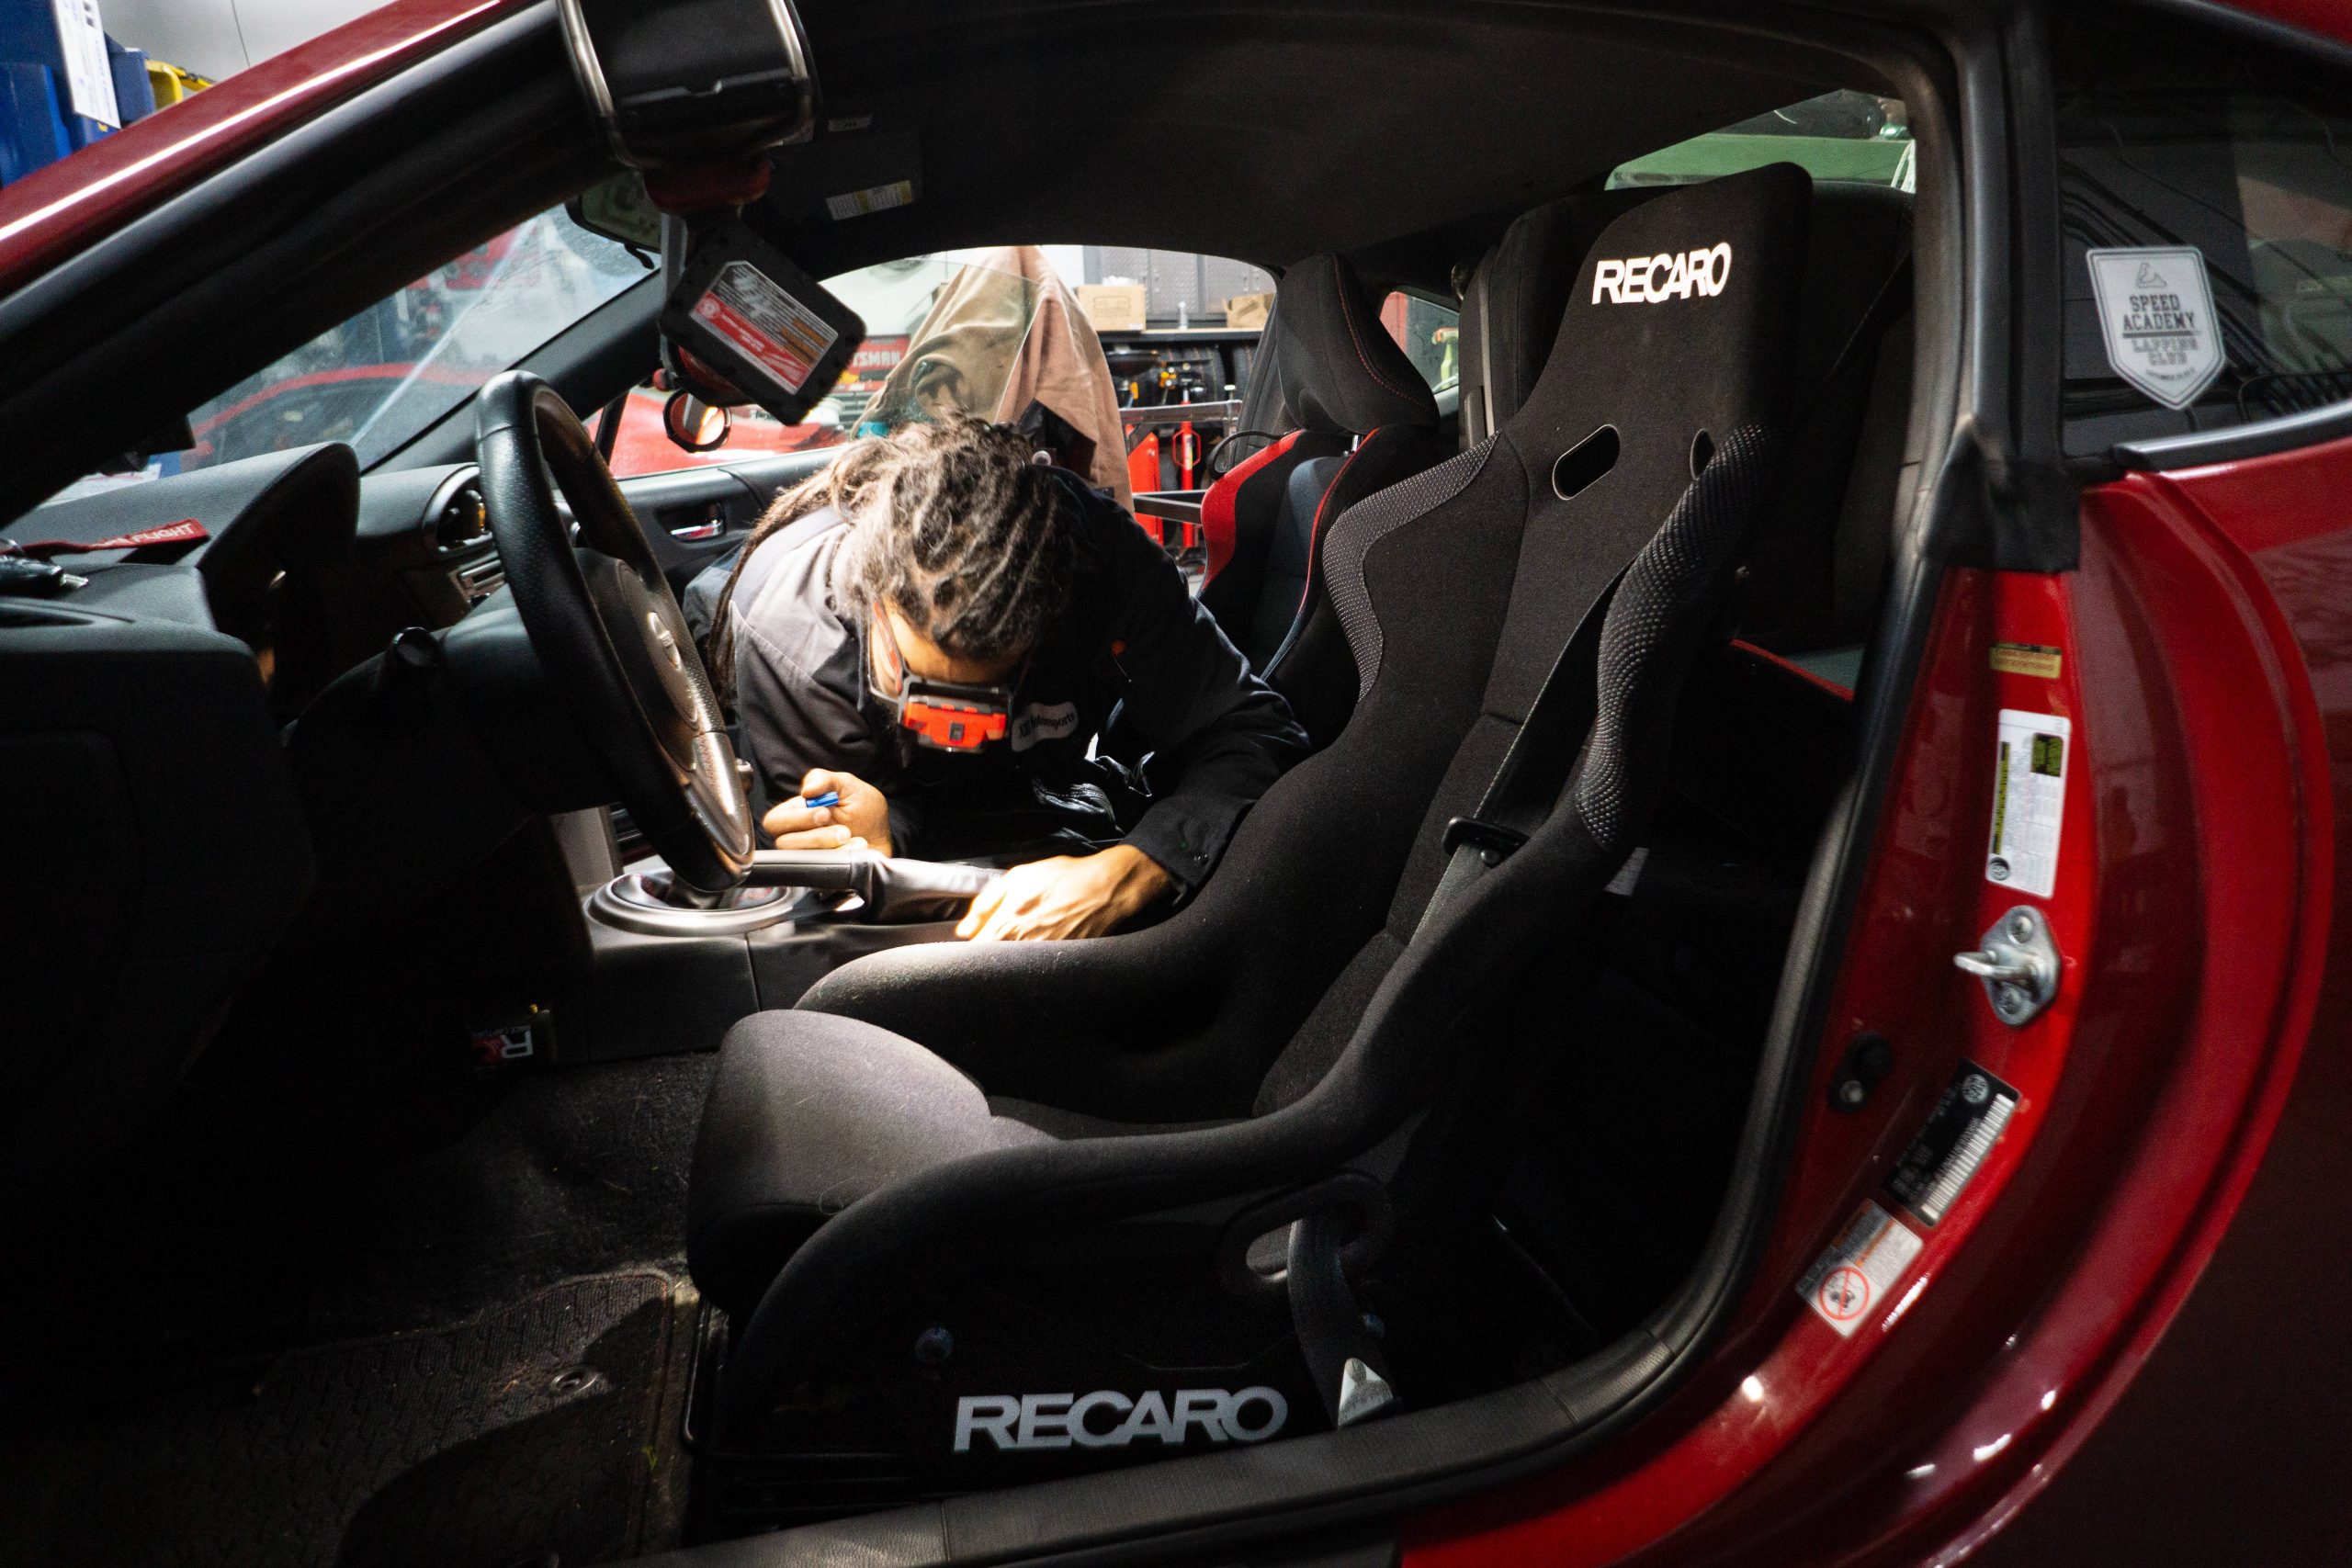
A bucket seat is one of those mods that might seem like frivolous interior bling on the surface, but when you’ve spent some time on the racetrack, you’ll realize that in a factory seat, keeping your body in one place can be a challenge. That distracts you from the task of actually driving. Secondly, flopping around the car makes it difficult to feel how the car is behaving underneath you. Having solid communication between yourself and the chassis, suspension and tires is critical to making the right decisions on the racetrack.
The Scion FRS actually has a great arrangement from the factory. Its seats are heavily bolstered, and 2014+ cars came knee pads allowing you to comfortably brace against the door and center console. That said, massive grip is going to be our FRS’ party trick – we’re expecting peak lateral g-forces over 1.5G – and the factory seat just won’t cut it.
Choosing a seat
Choosing a seat is a very personal choice. Prices start around the $600 range, though you can find decent used examples for closer to $200. If you have the funds to buy something new, I’d recommend walking into your local speed shop and plopping your butt down into as many seats as you can. You’ll want something that’s both comfortable, but snug enough so that you won’t slide around.
That’s how I ended up going with the Recaro Profi SPG. It’s an FIA certified fiberglass-based (it’s very light) bucket seat designed for thin drivers. I have a 30” waist and it fits me like a glove. Being this picky resulted in a $1300 hole in my wallet. For me, that’s worth it for a seat that will both keep me snug under high-g cornering, and won’t hurt my back on a 12-hour road trip.
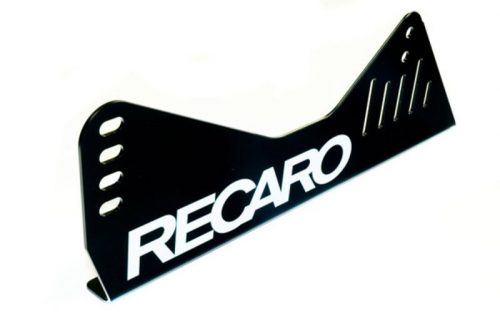
You’ll then need to find a base, side mounts, and sliders. Sliders are technically optional – you can always bolt your side mounts straight to the base – the problem with that being that your seat will forever be stuck in the same spot. However, you’ll save a bunch of money and you’ll end up with a lower seat, effectively lowering your center of gravity. I picked up a used Sparco seat base (Recaro doesn’t make one) specific to the FRS for $100, along with new Recaro side mounts and sliders for $350.
Install
My hypothesis was that buying genuine parts would result in a bolt-in installation. I was very, very wrong. I tried bolting the base together in my living room, and it ended up being literal inches too wide for the narrow Profi. This shouldn’t have been surprising. Given the number of different seats Recaro sells and the number of cars they support, the chances of having a seat install require zero custom work are basically zero.
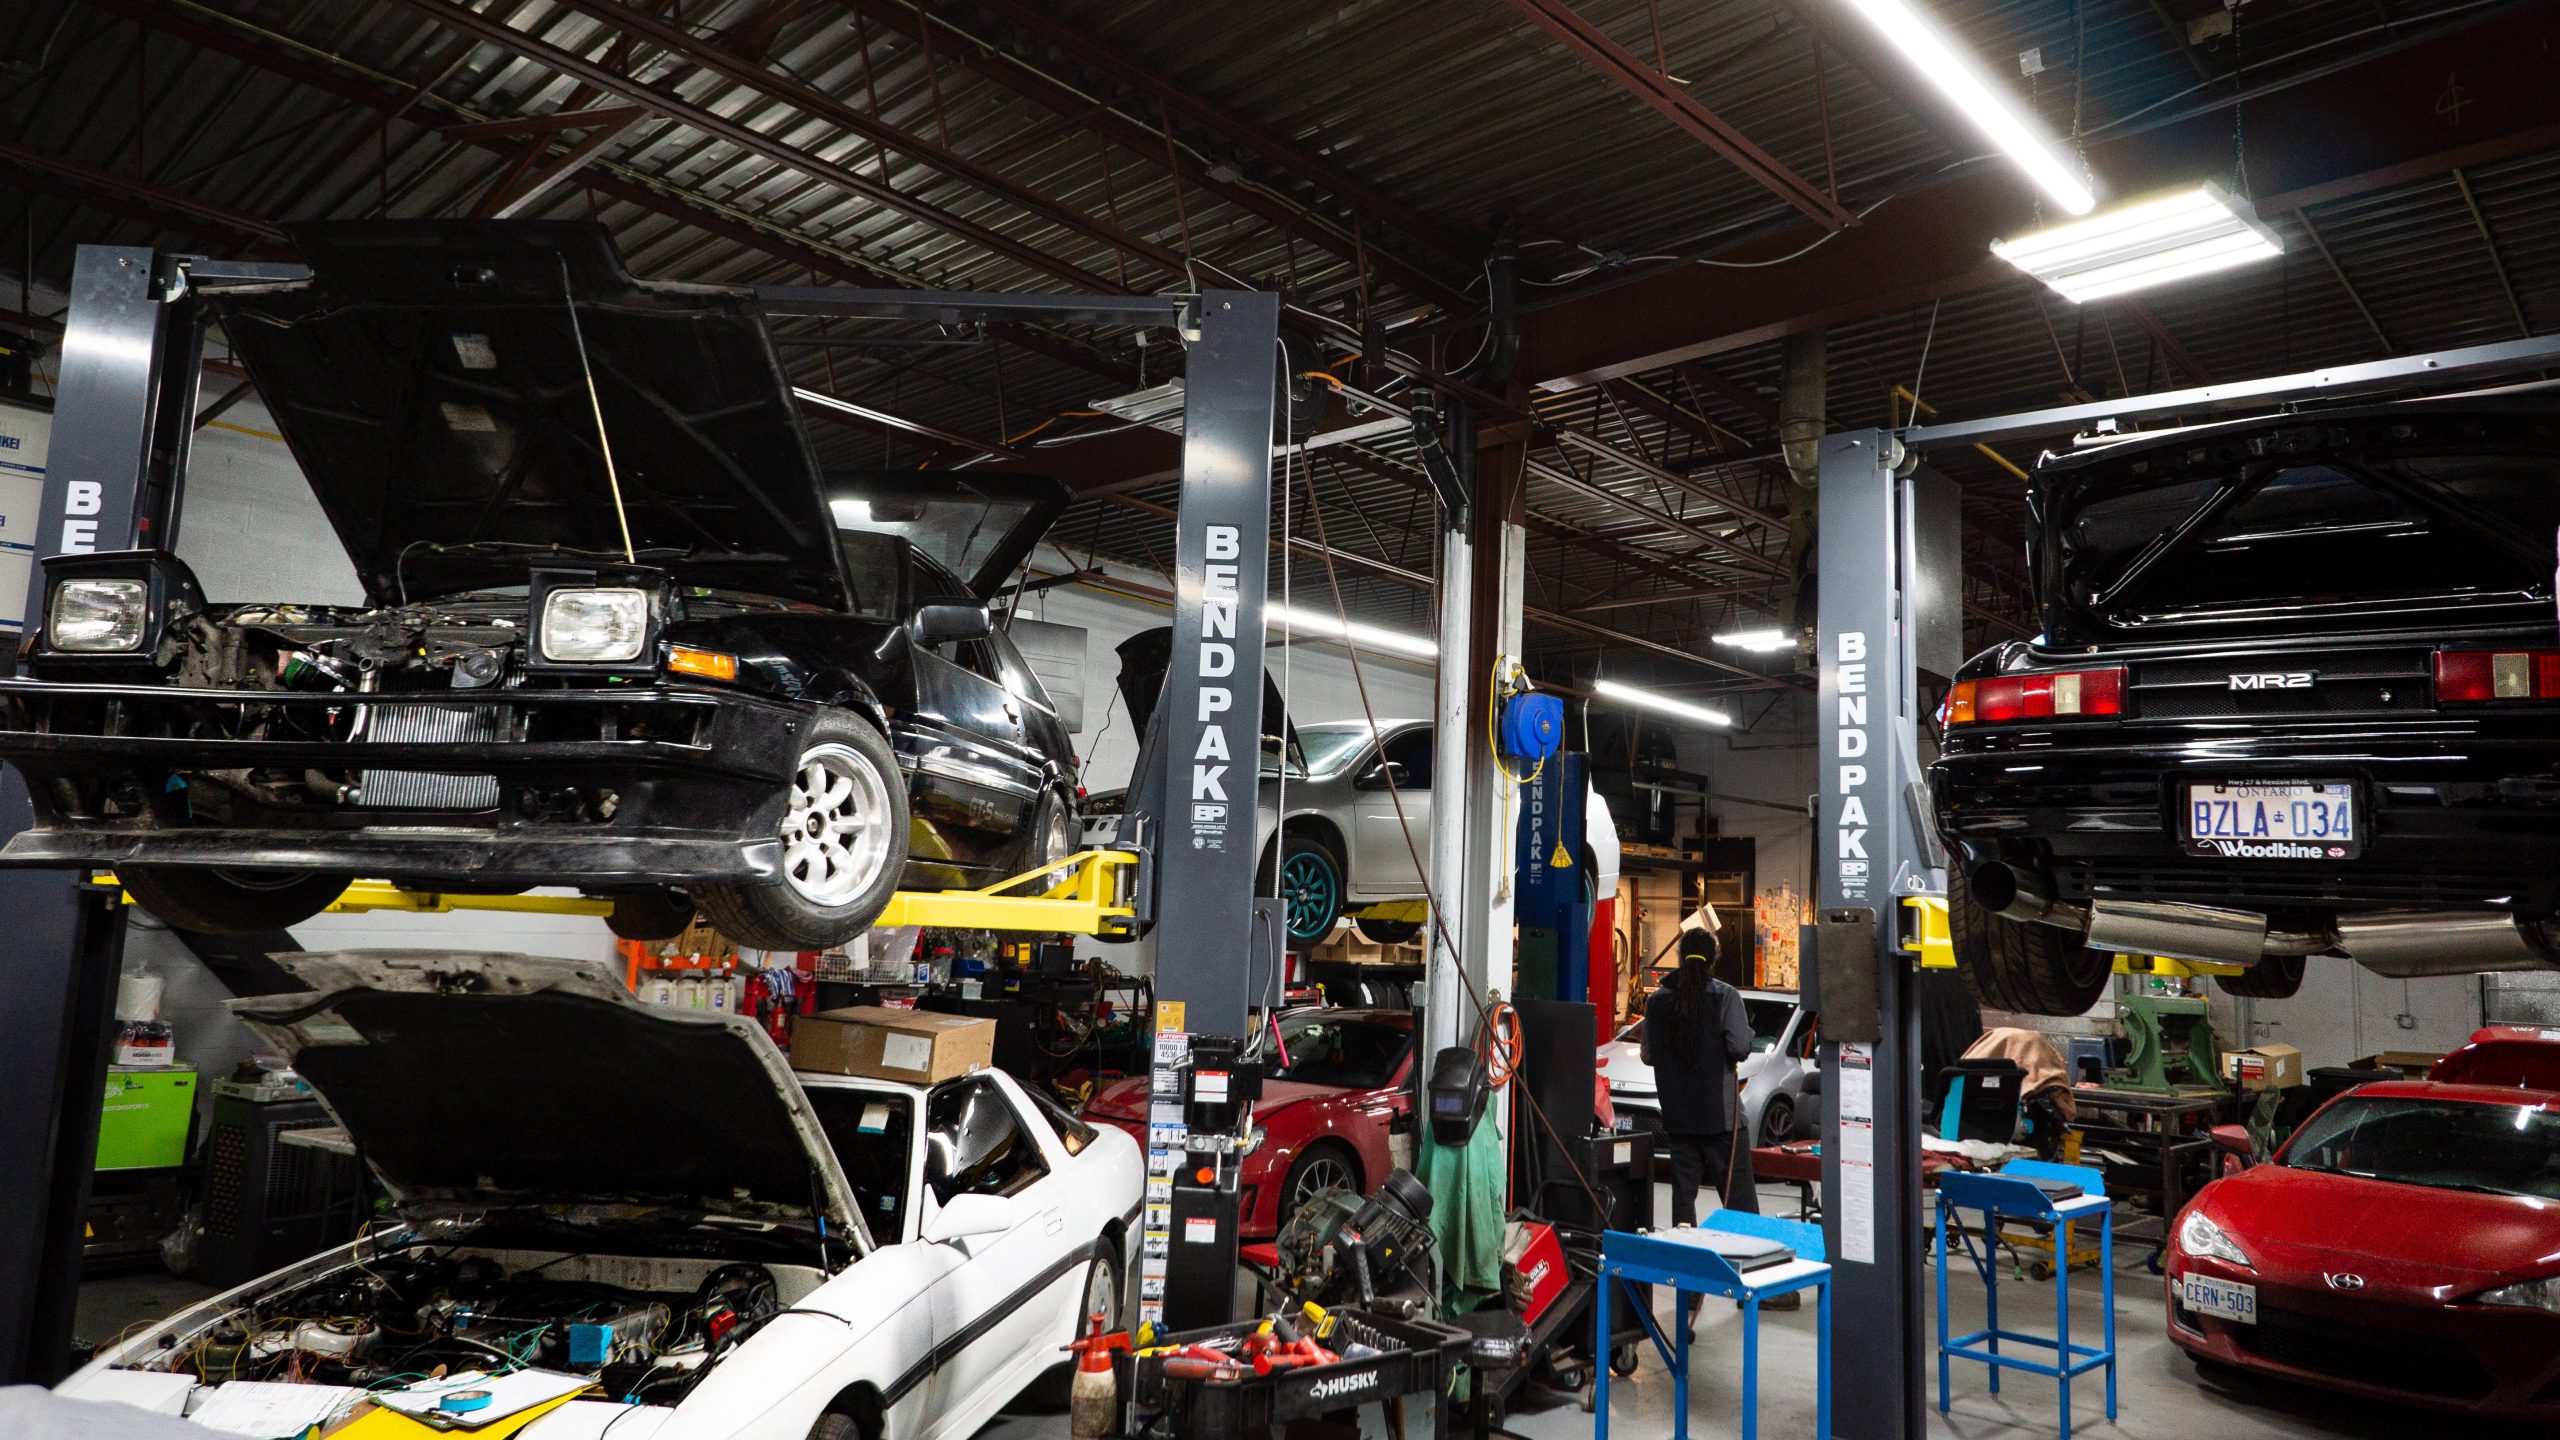
For help, I visited XIIIMotorsports in Brampton; they’re an excellent shop that specializes in welding and fabrication, and they happen to have a knack for building very fast Toyotas.


Will at XIII started by wrapping the sides of the fresh seat in masking tape to prevent damage to the very-pretty fiberglass during test fitting. Measurements then were taken to determine exactly how much excess width the base had. From there, a plan was formed.
The Sparco base has two sets of slotted holes. Using them, we’d be able to mount the seat’s slider rails close together enough to account for the narrow Profi. However, in order to use these holes, we had to drill new holes in the Recaro seat rails. With that done, we were able to position the rails close enough together for the Profi.


But this led to another problem – the slider bar (i.e., the bit that you grab to adjust the seat’s position) was also too wide. To deal with that, we had to cut two inches out of the slider bar, remove some paint, and re-weld it together. Later we’d hit the exposed area with some paint to prevent rusting.


Next up, we had to remove the factory seat. That meant removing the four E10 Torx bolts that holding the seat to the chassis. Finally, we had to deal with two pesky harness connections connecting the seat to the chassis – one for the seat belt charm, the other for the factory seat’s airbag sensors. Later, I’m going to need to shove a 3.3ohm resistor into the airbag connector clip in order to silence the airbag light. Having a working airbag is a nice touch too.
Finally, we unbolted the factory seat belt. There’s a 14mm bolt connecting it to the chassis. Later I’ll run the seatbelt through the slots in the new Profi, and bolt it back to the chassis.
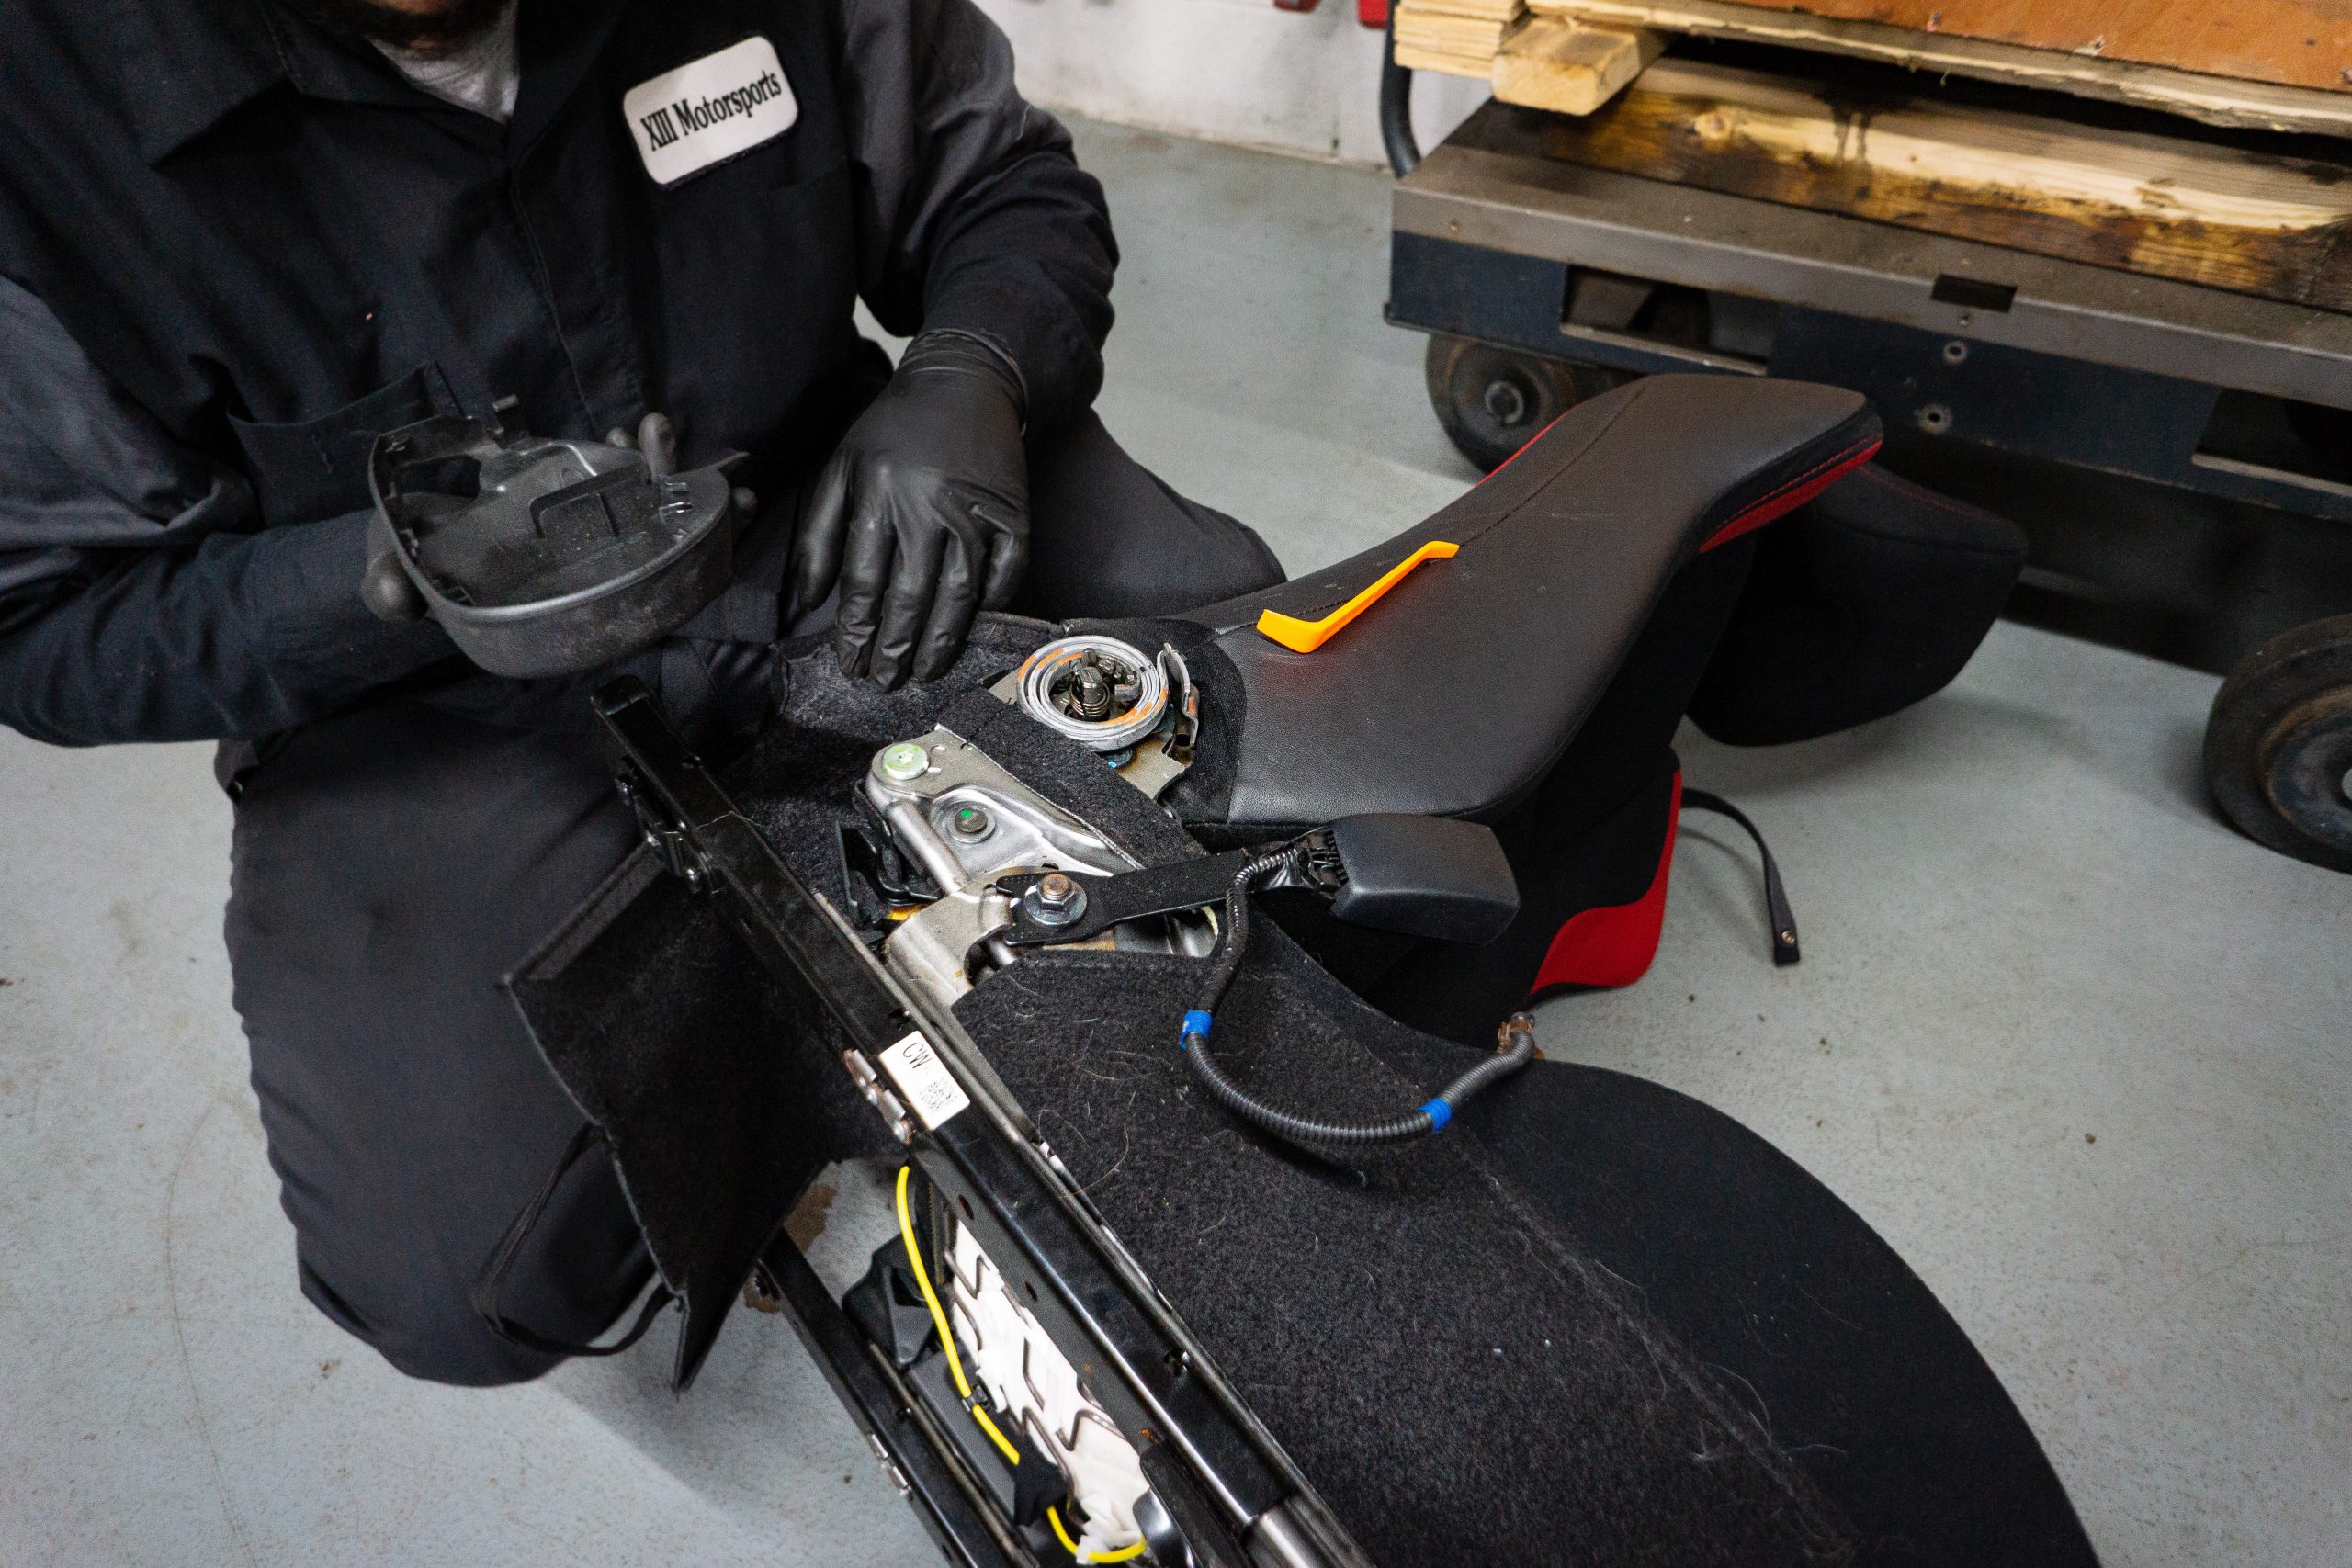
With the factory seat out of the car, off came the factory seat belt buckle. That meant unclipping the buckle’s harness from the bottom of the seat, along with unbolting the seat belt buckle held on with a 14mm nut.


Next, we bolted the factory seat belt buckle to the Sparco seat base and test-fitted the base in the car. That’s when we run into our final problem – the Torx bolts holding the base to the chassis would come in contact with slider, preventing it from sliding. To deal with that, Luke whipped up some aluminum spacers on a lathe and used them to add distance between the rails and the base of the seat.
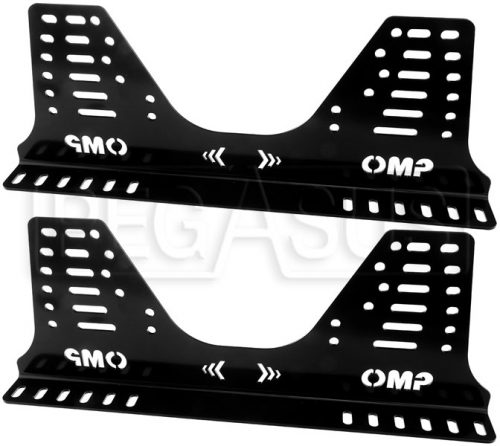
From there, we bolted the Profi into its new home, threaded the seat belt through the appropriate slots in the seat, and bolted the seat belt back into place. That’s where my only real complaint with this whole package comes in – the lack of adjustability offered by my Recaro seat rails. There are two holes near the back of the side mount, four near the front. Compare that to an equivalent OMP rail and you’ll see what you mean:
I eventually settled on bolting the seat into the lowest setting offered by the rails, as any higher would result in either my head hitting the roof while wearing a helmet, or my knees hitting the steering wheel. Ideally, I’d be sitting lower, so we might end up drilling new holes into the seat rails at a later date.
And volia, after four hours and whole lotta’ money spent, the FRS now features a minty fresh Recaro Profi. Now it’s time to add all the suspension parts I’ll need to make it worth it.
Cost Breakdown
- Recaro Profi SPG – $1,343.57
- Seat Base – $100
- Side Mounts – $168.82
- Slider kit – $182.04
= $1,794.43 + labour